GitLab Maven Repository [PREMIUM]
Introduced in GitLab Premium 11.3.
With the GitLab Maven Repository, every project can have its own space to store its Maven artifacts.
Enabling Maven Repository
NOTE: Note: This option is available only if your GitLab administrator has enabled Maven Repository.
In order to use the GitLab Maven Repository, you must enable the Repository. To enable (or disable) it:
- Navigate to your project's Settings > General > Permissions.
- Find the "Packages" feature and enable it.
- Click on Save changes for the changes to take effect.
You should then be able to see the Packages section on the left sidebar. Next, you must configure your project to authorize with the GitLab Maven repository.
Authenticating to the GitLab Maven Repository
If a project is private or you want to upload Maven artifacts to GitLab, credentials will need to be provided for authorization. Support is available for personal access tokens and CI job tokens.
Authenticating with a personal access token
To authenticate with a personal access token,
add a corresponding section to your
settings.xml file:
<settings>
  <servers>
    <server>
      <id>gitlab-maven</id>
      <configuration>
        <httpHeaders>
          <property>
            <name>Private-Token</name>
            <value>REPLACE_WITH_YOUR_PERSONAL_ACCESS_TOKEN</value>
          </property>
        </httpHeaders>
      </configuration>
    </server>
  </servers>
</settings>
You should now be able to upload Maven artifacts to your project.
Authenticating with a CI job token
If you're using Maven with GitLab CI/CD, a CI job token can be used instead of a personal access token.
To authenticate with a CI job token, add a corresponding section to your
settings.xml file:
<settings>
  <servers>
    <server>
      <id>gitlab-maven</id>
      <configuration>
        <httpHeaders>
          <property>
            <name>Job-Token</name>
            <value>CI_JOB_TOKEN</value>
          </property>
        </httpHeaders>
      </configuration>
    </server>
  </servers>
</settings>
You can read more on how to create Maven packages using GitLab CI/CD.
Configuring your project to use the GitLab Maven repository URL
To download and upload packages from GitLab, you need a repository and
distributionManagement section respectively in your pom.xml file:
<repositories>
  <repository>
    <id>gitlab-maven</id>
    <url>https://gitlab.com/api/v4/projects/PROJECT_ID/packages/maven</url>
  </repository>
</repositories>
<distributionManagement>
  <repository>
    <id>gitlab-maven</id>
    <url>https://gitlab.com/api/v4/projects/PROJECT_ID/packages/maven</url>
  </repository>
  <snapshotRepository>
    <id>gitlab-maven</id>
    <url>https://gitlab.com/api/v4/projects/PROJECT_ID/packages/maven</url>
  </snapshotRepository>
</distributionManagement>
The id must be the same with what you
defined in settings.xml.
In both examples, replace PROJECT_ID with your project ID which can be found
on the home page of your project.
If you have a self-hosted GitLab installation, replace gitlab.com with your
domain name.
Uploading packages
Once you have set up the authorization and configuration, test to upload a Maven artifact from a project of yours:
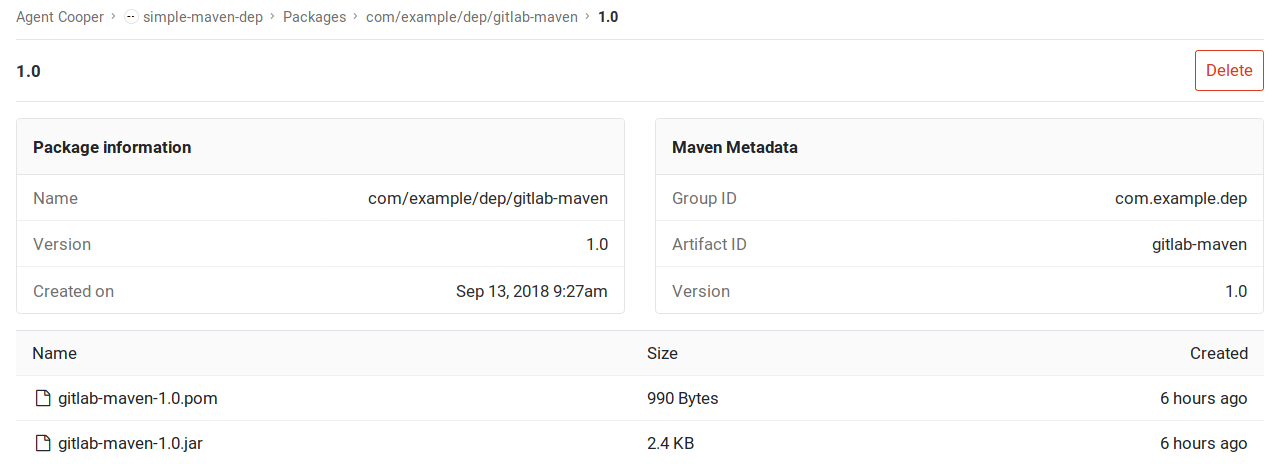
mvn deployYou can then navigate to your project's Packages page and see the uploaded artifacts or even delete them.
Creating Maven packages with GitLab CI/CD
Once you have your repository configured to use the GitLab Maven Repository,
you can configure GitLab CI/CD to build new packages automatically. The example below
shows how to create a new package each time the master branch is updated:
-
Create a
ci_settings.xmlfile that will serve as Maven'ssettings.xmlfile. Add the server section with the same id you defined in yourpom.xmlfile. For example, in our case it'sgitlab-maven:<settings xmlns="http://maven.apache.org/SETTINGS/1.1.0" xmlns:xsi="http://www.w3.org/2001/XMLSchema-instance" xsi:schemaLocation="http://maven.apache.org/SETTINGS/1.1.0 http://maven.apache.org/xsd/settings-1.1.0.xsd"> <servers> <server> <id>gitlab-maven</id> <configuration> <httpHeaders> <property> <name>Job-Token</name> <value>CI_JOB_TOKEN</value> </property> </httpHeaders> </configuration> </server> </servers> </settings> -
Make sure your
pom.xmlfile includes the following:<repositories> <repository> <id>gitlab-maven</id> <url>https://gitlab.com/api/v4/projects/PROJECT_ID/packages/maven</url> </repository> </repositories> <distributionManagement> <repository> <id>gitlab-maven</id> <url>https://gitlab.com/api/v4/projects/PROJECT_ID/packages/maven</url> </repository> <snapshotRepository> <id>gitlab-maven</id> <url>https://gitlab.com/api/v4/projects/PROJECT_ID/packages/maven</url> </snapshotRepository> </distributionManagement>TIP: Tip: You can either leave GitLab CI/CD to replace your project ID value while the deploy job is running or hardcode your project's ID.
-
Add a
deployjob to your.gitlab-ci.ymlfile:deploy: image: maven:3.3.9-jdk-8 script: - 'cp ci_settings.xml /root/.m2/settings.xml' - 'sed -i "s/CI_JOB_TOKEN/${CI_JOB_TOKEN}/g" /root/.m2/settings.xml' - 'sed -i "s/PROJECT_ID/${CI_PROJECT_ID}/g" pom.xml' - 'mvn deploy' only: - master -
Push those files to your repository.
The next time the deploy job runs, it will copy ci_settings.xml to the
user's home location (in this case the user is root since it runs in a
Docker container), and sed will replace the placeholder values with the
contents of the actual
environment variables.